How to Creating a Node.js application with the Node.js Selector
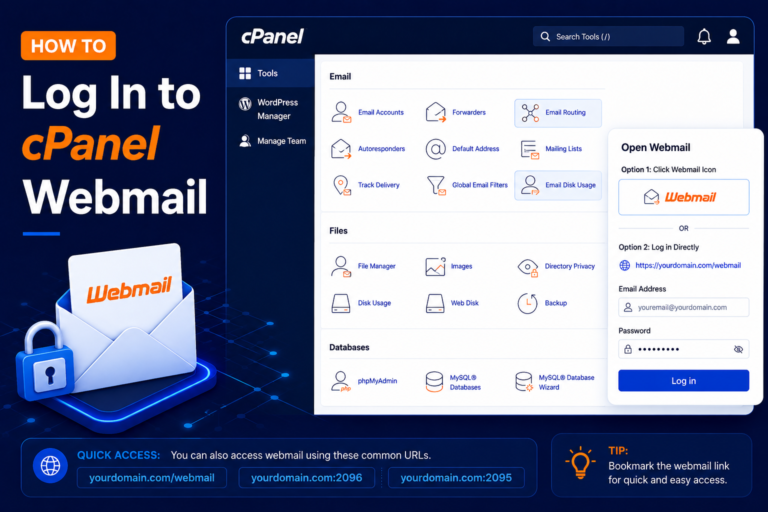
Step 1: Log in to cPanel
- First, log in to your cPanel account using the login details provided by your hosting provider.
- Enter your cPanel username and password, then click Log in.
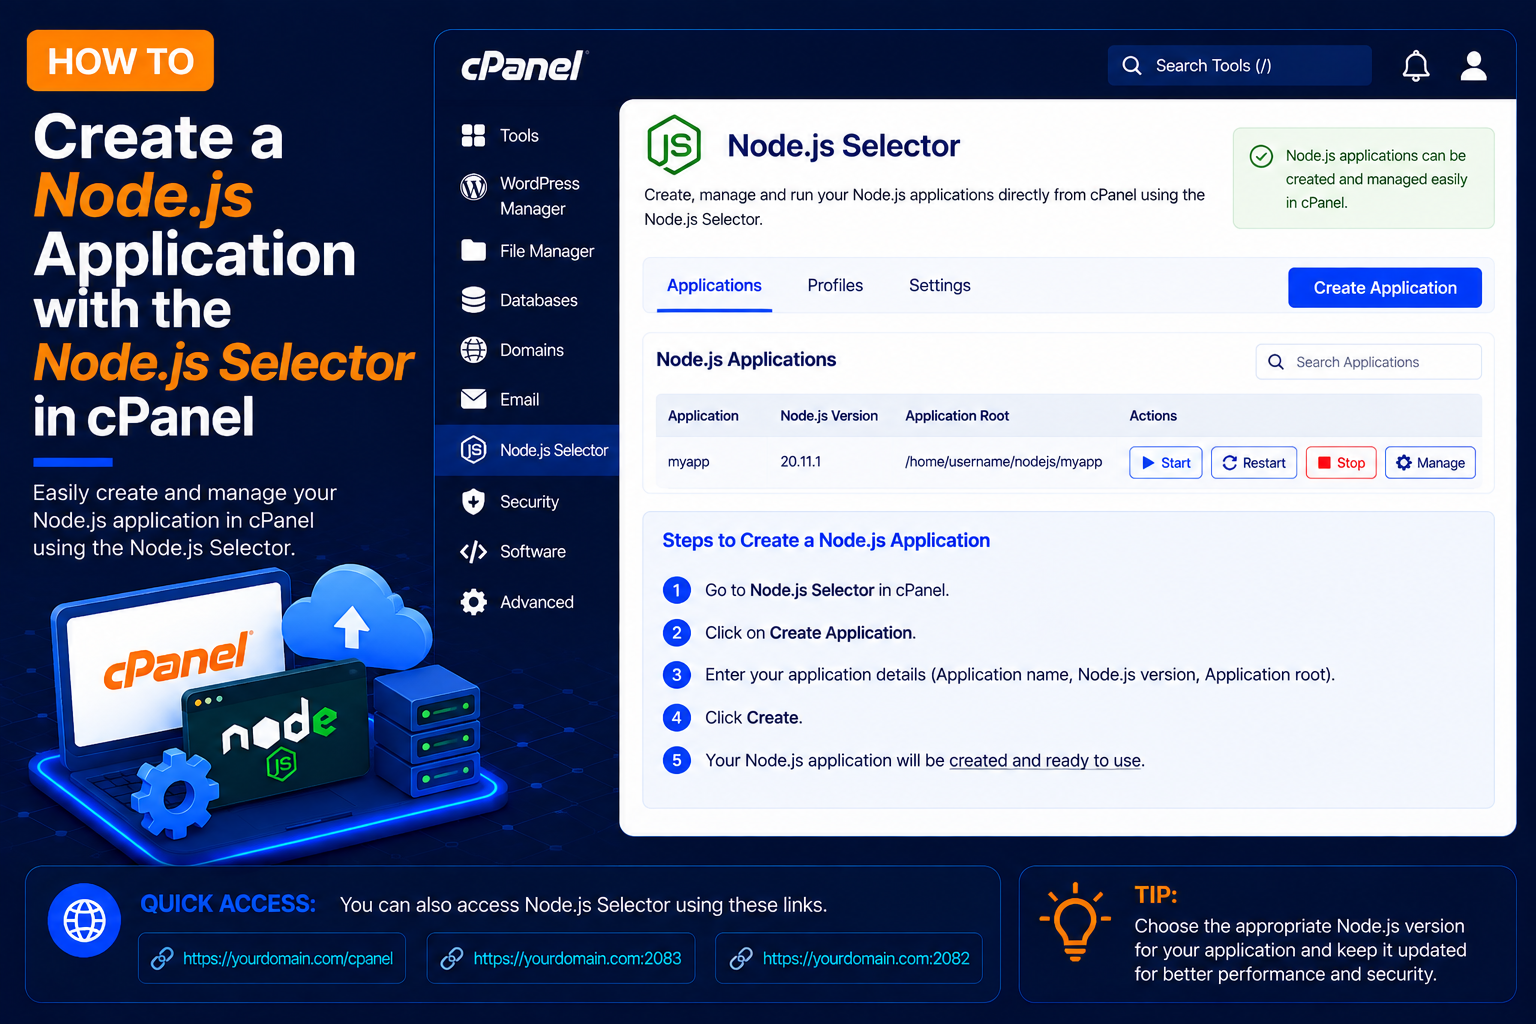
Step 2: Open the Node.js Selector
- After logging in to cPanel, use the search bar at the top of the dashboard.
- Search for: Setup Node.js App
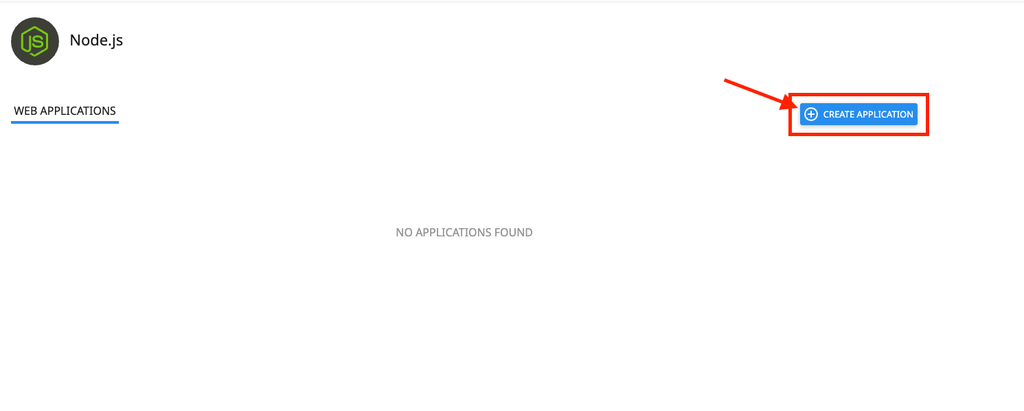
Step 3: Click Create Application
- The Node.js Selector page will display your existing Node.js applications.
- To create a new application, click:
- Create Application
- You will now see the Node.js application configuration page.
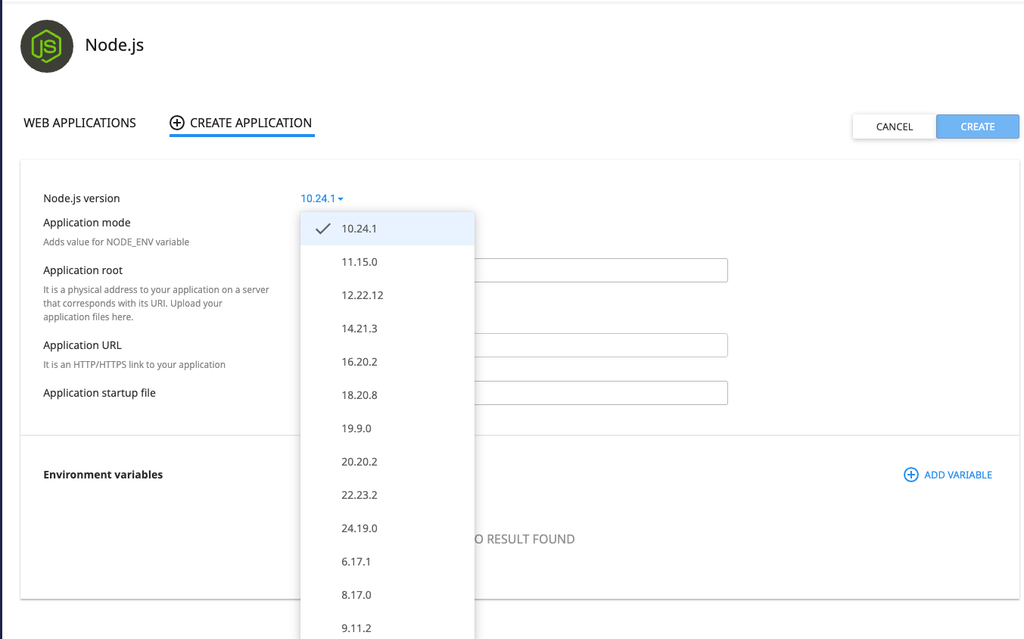
Step 4: Select the Node.js Version
- Choose the Node.js version required by your application.
- For example: Node.js 20.x / Node.js 21.x / Node.js 22.x
- You should always select a Node.js version that is compatible with your project and its dependencies.
Step 5: Select Application Mode
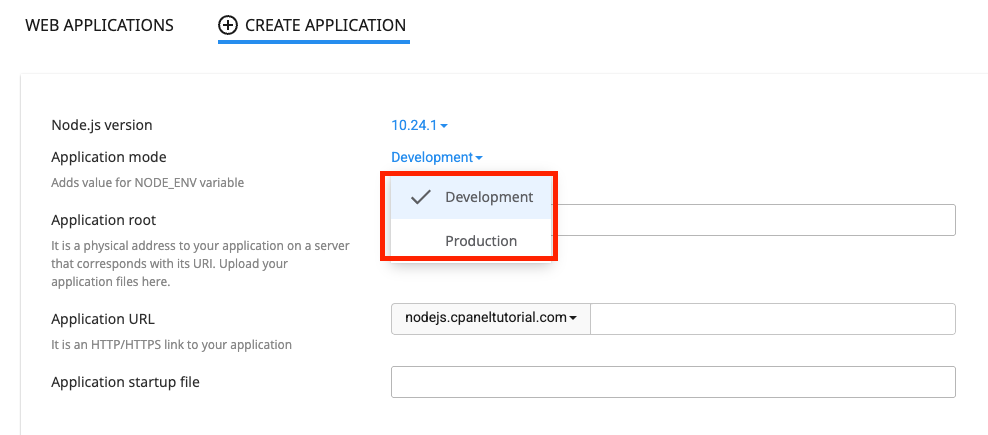
- Next, select the application mode.
- You will normally see two options: 1. Development , 2. Production
- For a live website or application, select: Production
- Use Development only while testing or debugging your application.
Step 6: Configure the Application Root
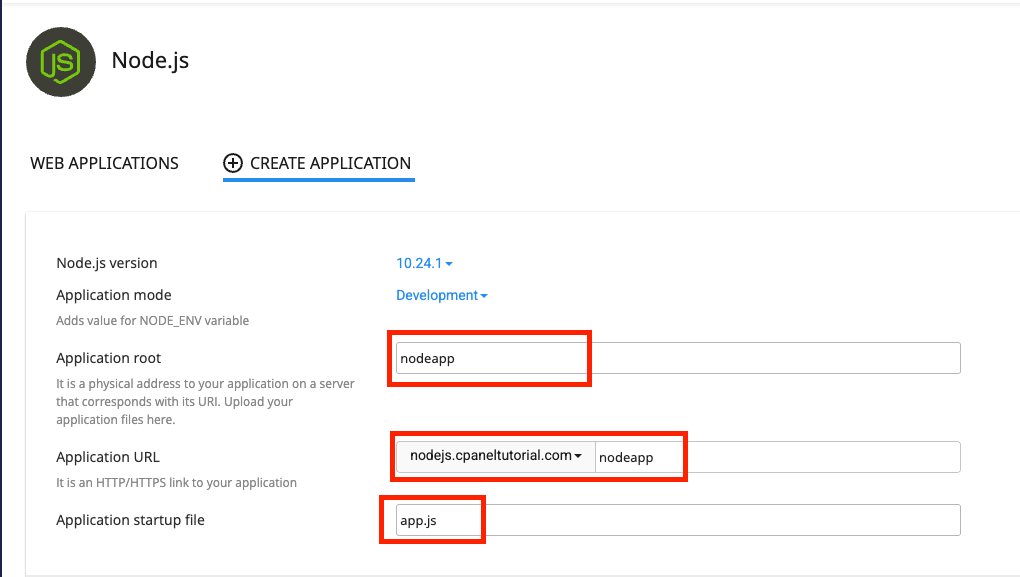
- The Application Root is the folder where your Node.js application files will be stored.
- For example: nodeapp
- cPanel may then create a directory similar to: /home/cpanelusername/nodeapp
- Do not enter the complete /home/username/ path unless your hosting panel specifically requires it.
- Application startup file : app.js
Step 7: Create the Node.js Application
- After completing all the required fields, review your configuration.
- Example configuration:
| Setting | Example |
|---|---|
| Node.js Version | Node.js 20 |
| Application Mode | Production |
| Application Root | nodeapp |
| Application URL | app.example.com |
| Startup File | app.js |
Click: CREATE
cPanel will create the Node.js environment for your application.
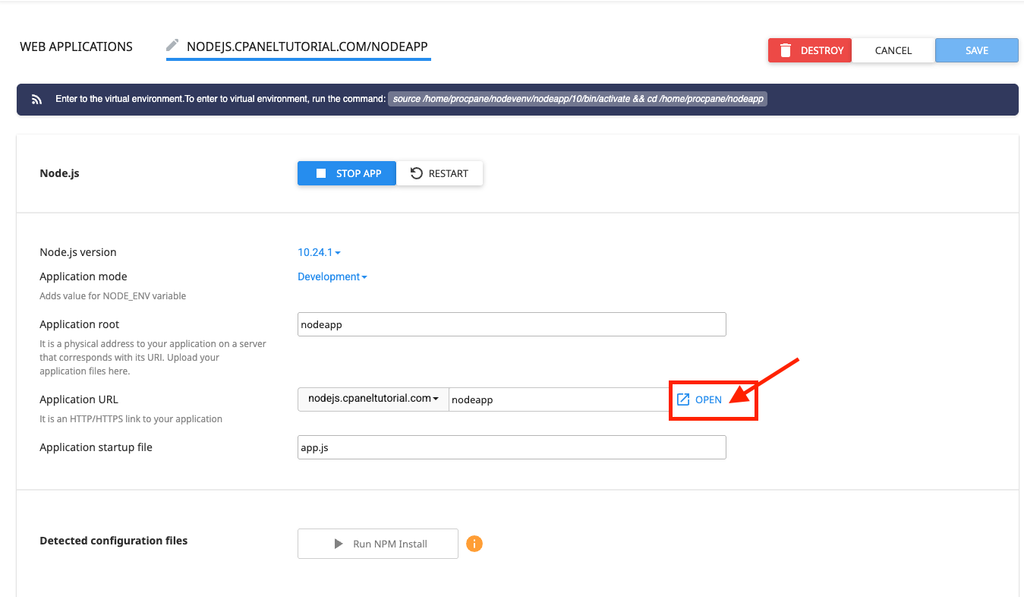
The application starts automatically. To view a test page for the application, click OPEN:
Now that a working application is installed, you can enhance the environment with the package.json settings file and the npm package manager. To do this, follow the next two procedures.
Step 8: Create the package.json file
- To create the package.json file, follow these steps:
- On the Tools page, in the Files section, click File Manager:
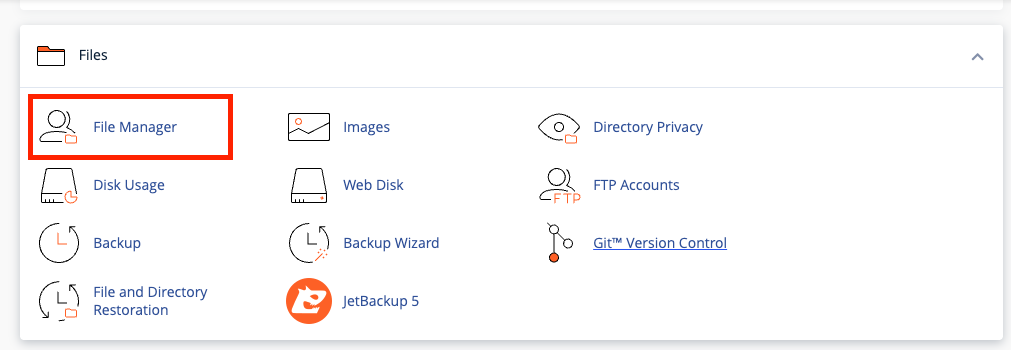
- In the left hand column of File Manager, click the text of the application root folder: Click +File to create a new file:
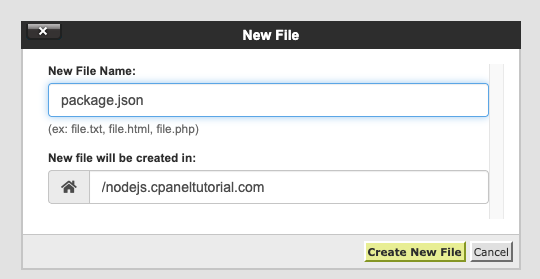
- In the New File dialog box, type the filename package.json, and then click Create New File:
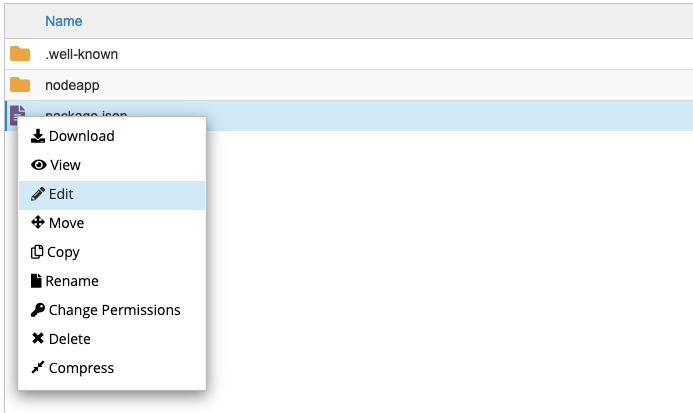
Right-click or secondary click on the package.json file in the right-hand column of File Manager and then click Edit. An edit dialog box appears:
- In the Edit dialog box, click OK.
- Type the following text in the editor screen:
{
"name": "app",
"version": "1.0.0",
"description": "My App",
"main": "app.js",
"scripts": {
"test": "echo "Error: no test specified" && exit 1"
},
"author": "",
"license": "ISC"
}
Click Save Changes to save the file:
Step 9: Install npm
To install npm, follow these steps:
- On the Tools page, in the Software section, click Setup Node.js App:
- In the Actions column of the Web Applications list, click the pencil icon to edit the application:
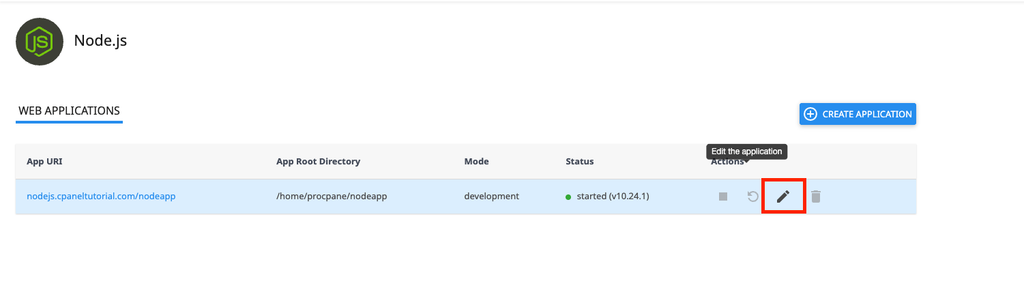
Click Run NPM Install
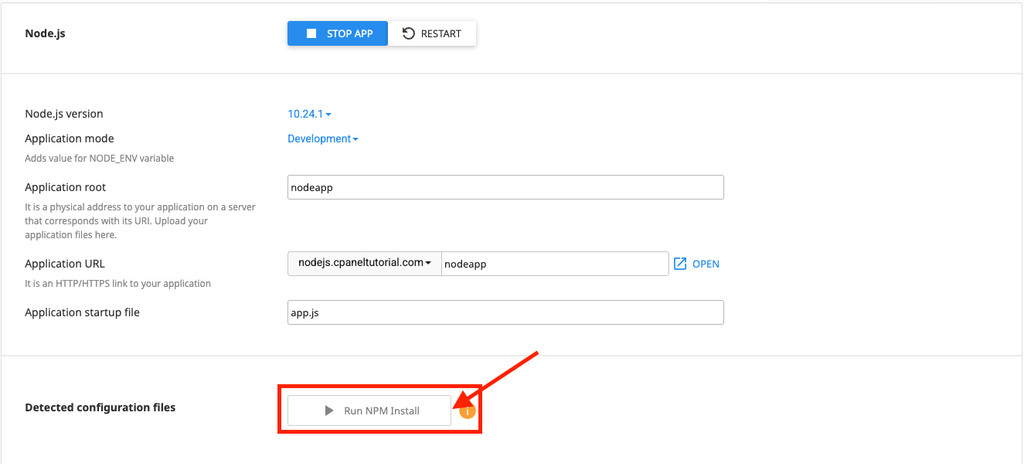
The NPM installation runs and displays a success indicator when complete: