
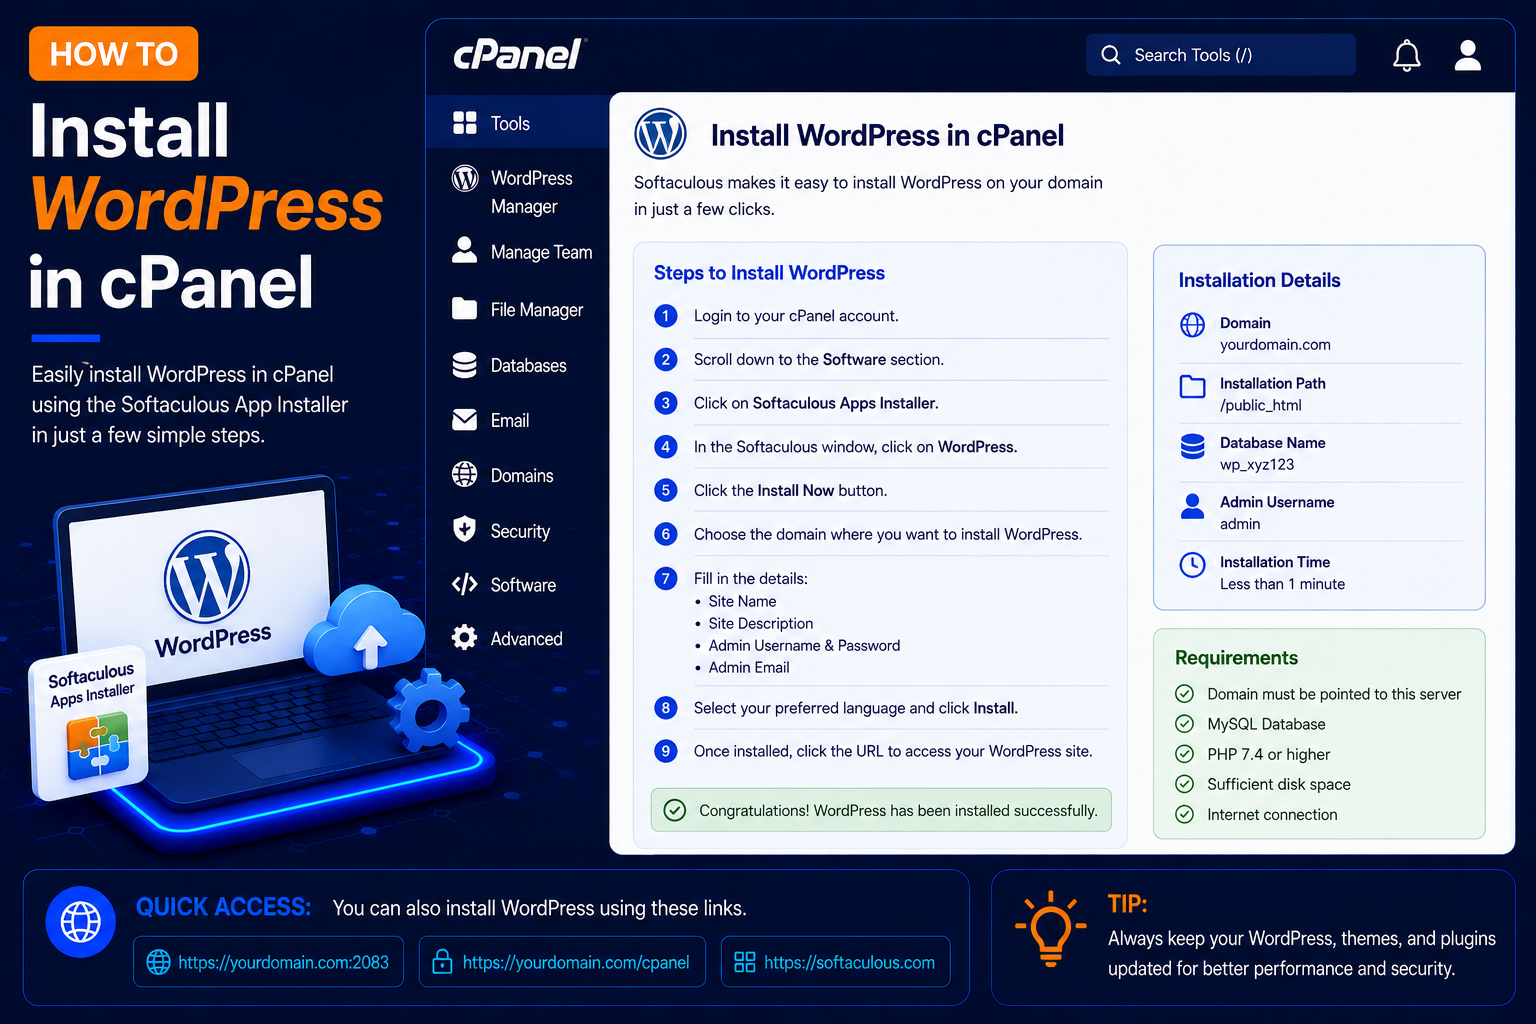
How to Install WordPress in cPanel
WordPress is one of the most popular content management systems (CMS) for creating blogs, business websites, portfolios, and many other types of websites.
Many cPanel hosting providers include an automatic WordPress installer such as Softaculous Apps Installer, which makes it possible to install WordPress without manually creating and uploading all the required files.
With Softaculous, the installer downloads WordPress, creates the MySQL database and database user, writes the wp-config.php file and sets up your admin account in one go. The whole process usually takes only a few minutes, and you do not need any coding knowledge.
Before Installing WordPress
Before starting, make sure you have:
- An active domain name
- A cPanel hosting account
- Your cPanel login details
- Your domain added to the hosting account
- DNS pointing to the correct hosting server
- SSL enabled if you want to use HTTPS
It also helps to check that the folder where you will install WordPress (usually public_html for your main domain) does not contain an old website you still need. If it does, take a backup first.
How to Install WordPress with Softaculous
Step 1: Log In to cPanel
- Open your cPanel login page, usually https://yourdomain.com/cpanel or https://yourdomain.com:2083.
- Enter your cPanel Username and Password, then click Log in.
Step 2: Find Softaculous Apps Installer
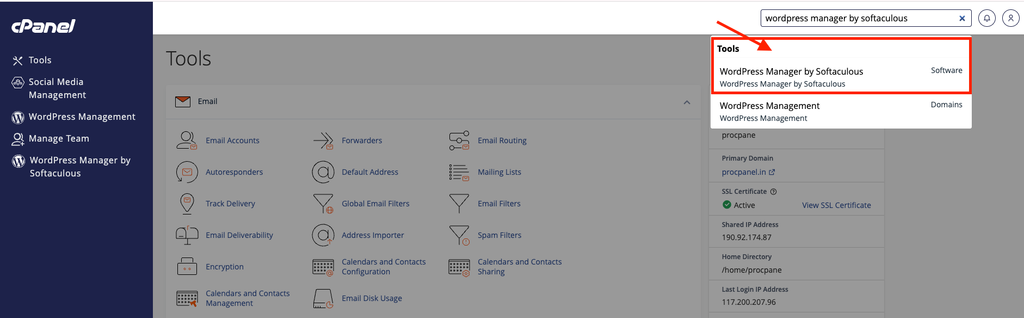
- After logging in to cPanel, scroll down and look for Softaculous Apps Installer.
- Depending on your cPanel configuration, it may appear under the Software section.
- You may also see a separate WordPress Manager by Softaculous option.
- Click the WordPress icon to open the WordPress page in Softaculous.
Step 3: Click Install Now
- On the WordPress page, click: Install Now
- Softaculous will open the WordPress installation form.

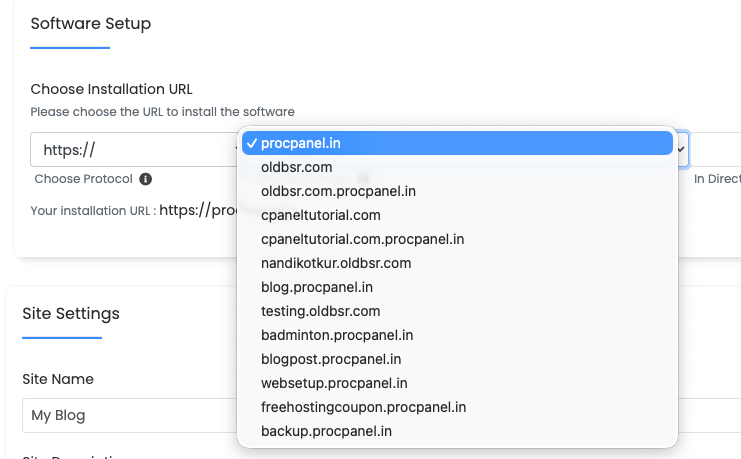
Step 4: Choose the WordPress Installation URL
Under Software Setup, select the URL where you want WordPress installed. You may see options for:
- Choose Protocol
- Choose Domain
- In Directory
For the protocol, if SSL is active on your domain, select: https:// or https://www.
Leave In Directory empty if you want WordPress to load on the main address (for example example.com). Softaculous often pre-fills this field with wp; if you keep it, your site will open at example.com/wp instead.
Step 5: Create Your WordPress Admin Account
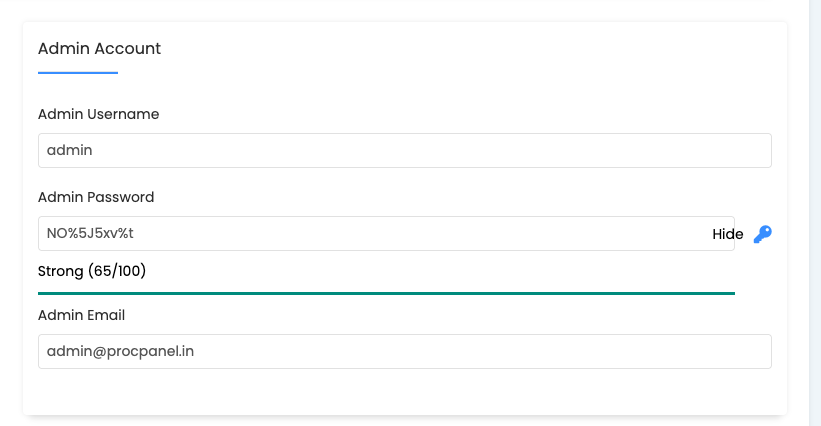
Next, configure your WordPress administrator account. You will normally need to enter:
- Admin Username
- Admin Password
- Admin Email
Follow these guidelines:
- Choose a unique admin username.
- Avoid using an easily guessed username when possible.
- Create a strong password containing a combination of uppercase letters, lowercase letters, numbers and special characters.
- Enter an email address you can access.
On the same form you can also set the Site Name and Site Description (both can be changed later in WordPress) and the language. The Advanced Options section, where available, lets you set the database name, table prefix, automatic updates and automatic backups. The exact options vary by Softaculous version and host.
Step 6: Click Install
Review your WordPress installation settings carefully. Make sure these are correct:
- Domain
- Protocol
- Directory
- Admin Email
- Admin Username
- Then click Install.
- Softaculous will begin installing WordPress.
- Do not close the page while the installation is running.
Step 7: Log In to WordPress Admin
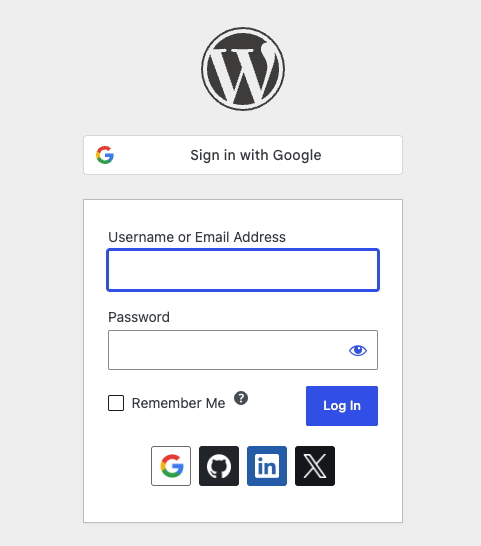
- Open: https://example.com/wp-admin/
- Enter the WordPress admin username and password you created during installation.
- Click: Log In
After successfully logging in, you will see the WordPress dashboard. From here, you can manage:
- Posts
- Pages
- Media
- Themes
- Plugins
- Users
- Settings
What to Do After Installing WordPress
- Go to Settings → General and confirm the site title, timezone and that both URLs start with https://.
- Set Settings → Permalinks to Post name for clean, readable URLs.
- Delete the sample post, sample page and any plugins or themes you do not plan to use.
- Install a theme and only the plugins you really need.
- Set up regular backups, for example with UpdraftPlus.
Common Problems and How to Fix Them
Softaculous says the directory is not empty
The target folder already contains files, often a default index.html or an old site. Back up anything you need, then remove the old files with File Manager, or install WordPress in a different directory.
The domain still shows the old site or a default page
An old index.html may be loading before WordPress’s index.php. Delete or rename it. If the domain was registered or pointed to the server recently, DNS changes can take a while to update everywhere.
Browser shows “Not secure” or a certificate warning
Your SSL certificate is not active yet. Install or run AutoSSL in cPanel, then make sure the WordPress and Site Address in Settings → General use https://.
Forgot the admin password
Use the Lost your password? link on the login page, or reset it from cPanel. See How to Change Your WordPress Password in cPanel.
Frequently Asked Questions
Is Softaculous the only way to install WordPress?
No. You can also install WordPress manually by uploading the files, creating a MySQL database and running the web installer. Softaculous is simply faster and creates the database for you. Some hosts use a different installer, such as WordPress Toolkit, with similar steps.
Can I install more than one WordPress site in one cPanel account?
Yes, as long as your plan allows it. Install each site on a different domain, subdomain or directory.
Where are the WordPress database details stored?
In the wp-config.php file in the installation folder. You can also see the database in cPanel under MySQL Databases.
Conclusion
Installing WordPress in cPanel with Softaculous takes just a few clicks: choose the protocol, domain and directory, create a secure admin account and click Install. Once done, secure the site with HTTPS, set up permalinks and backups, and you are ready to start building your website.